After careful consideration I have decided to transfer all hardware review activities to a new domain. I purchased Hardwareasylum.com in 2012 and have been working hard to build a new and improved Ninjalane on that domain. If you are reading this you have reached one of the archived articles, news, projects and/or reviews that were left behind during the site migration.
Please update your bookmarks and be sure to visit the new and improved Ninjalane at Hardwareasylum.com
HDD Cooler Installation
Author: Dennis Garcia
Published: Saturday, July 08, 2000
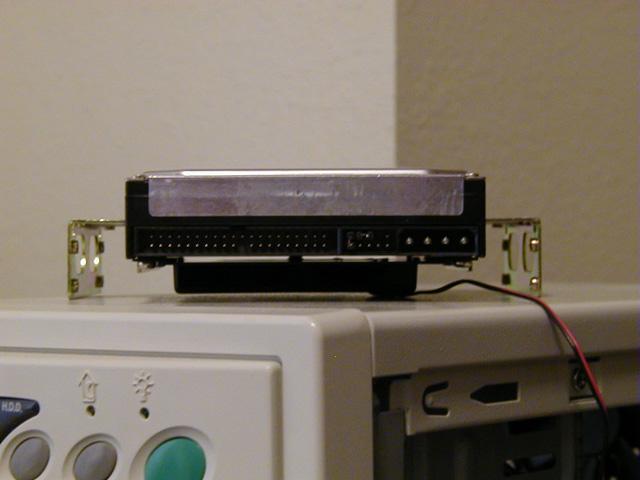
HDD Cooler Installation Part 2
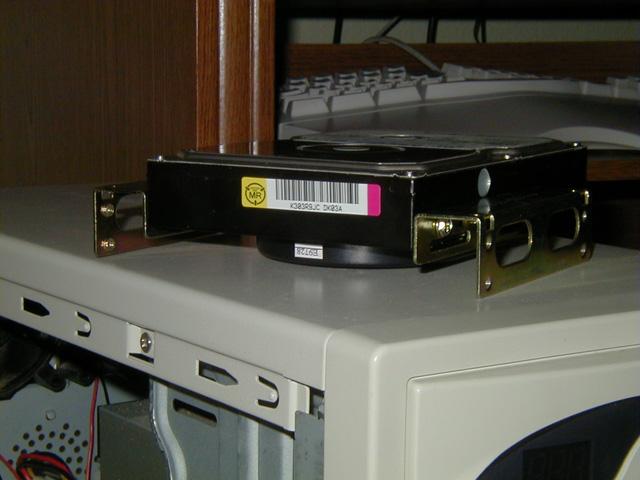
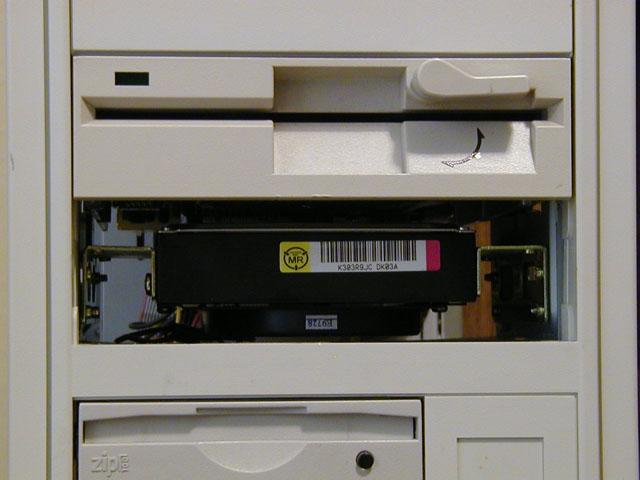
Like I said before this project is very simple and only took me 15min to accomplish. Some would say if your case is vented
properly there is no need for a HDD cooler, and I fully agree with that. Though personally I feel that if an electrical
component produces heat and could be otherwise damaged by it we should do our best to prevent it from happening.
Also check out Part 2 of the HDD installation project. It would seem that less than two weeks after I installed the cooler the fan seized up. (quality work I must say) So I replaced the unit with an Ultra Thin Hard Disk Cooler 2 from CoolerGuys.com
Also check out Part 2 of the HDD installation project. It would seem that less than two weeks after I installed the cooler the fan seized up. (quality work I must say) So I replaced the unit with an Ultra Thin Hard Disk Cooler 2 from CoolerGuys.com