After careful consideration I have decided to transfer all hardware review activities to a new domain. I purchased Hardwareasylum.com in 2012 and have been working hard to build a new and improved Ninjalane on that domain. If you are reading this you have reached one of the archived articles, news, projects and/or reviews that were left behind during the site migration.
Please update your bookmarks and be sure to visit the new and improved Ninjalane at Hardwareasylum.com
Thermaltake V9 Case Review
Author: William West
Published: Wednesday, October 22, 2008
Case Features & Layout Finishing
Going to the inside front of the V9 exposes you to count them 5 x 3.5" HD bays. Then 2x 3.5" exposed bays for items like floppy drives, and cards readers. Last of this list is the 4 x 5.25" exposed drive bays. For a valued type case you can really pack a ton of drives into the case.


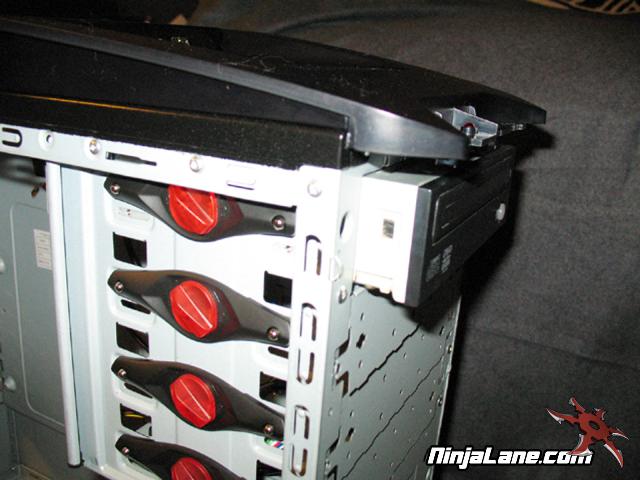
Thermaltake keeps in step with the "tool free" concept with the drive bays on the V9. All of the 3.5" Hard Drive slots and the 5.25" drive bays are tool free. The only area that is not tool free is the 2 x 3.5" exposed bays.
This is how to use the tool free option for your drives. The red colored knob flips to unlock the whole black piece from the drive bay. Then insert the drive you want into the desired slot. Then place the black piece back onto the case and turn the red knob back over to hold the drive in place.
A thank you goes out to Thermaltake on making such and easy setup.

On the very front of the Thermaltake V9 you will find the intake fan. Like the rest of the pack Thermaltake has used a LED 120mm red colored fan and allows for good fresh air to flow over the Hard Drive bay. With a single thumb screw the fan is released for replacement or cleaning. Very quick and easy access is the best way for any intake fan.