After careful consideration I have decided to transfer all hardware review activities to a new domain. I purchased Hardwareasylum.com in 2012 and have been working hard to build a new and improved Ninjalane on that domain. If you are reading this you have reached one of the archived articles, news, projects and/or reviews that were left behind during the site migration.
Please update your bookmarks and be sure to visit the new and improved Ninjalane at Hardwareasylum.com
Spire TherMax II Heatsink Review
Author: Dennis Garcia
Published: Wednesday, September 15, 2010
Installation
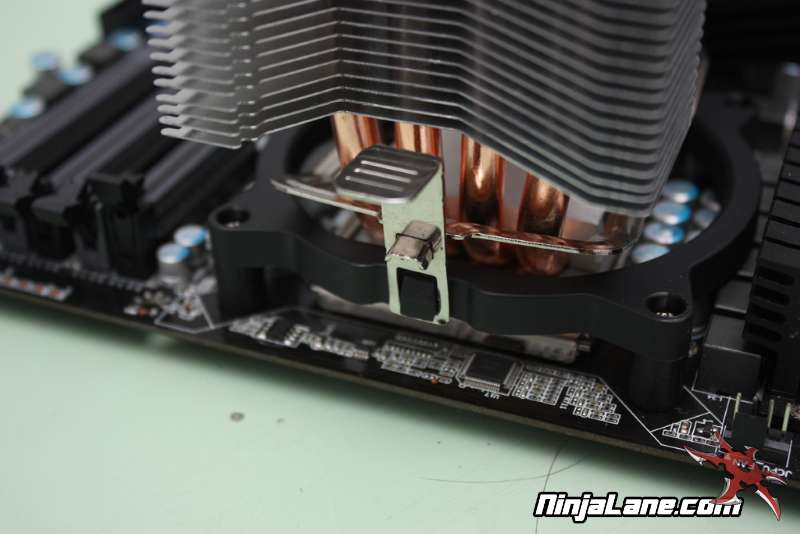
The mounting system found on the Spire TherMax II is one of the coolest ones we have seen to date and consists of a single plastic mounting cage that mounts directly to the motherboard. The heatsink will then attach directly to the mounting cage using 2 clips. We have seen other mfgs use a similar method before, however none of them are this easy to use.
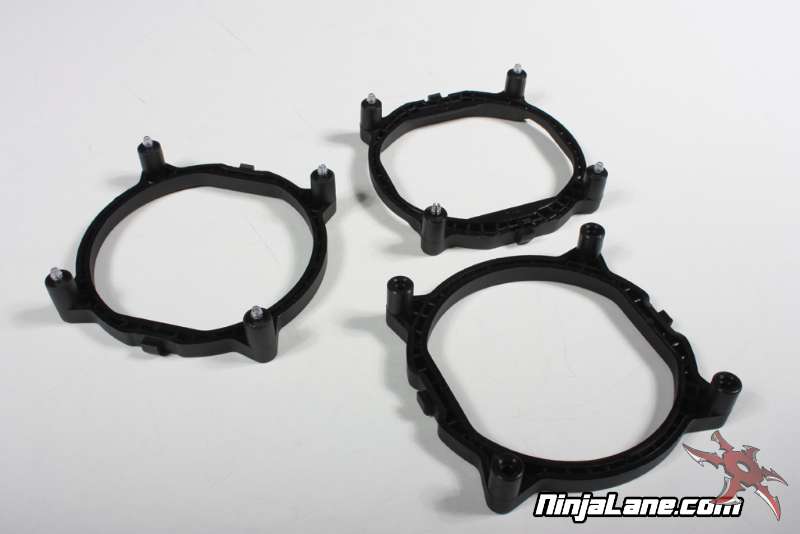
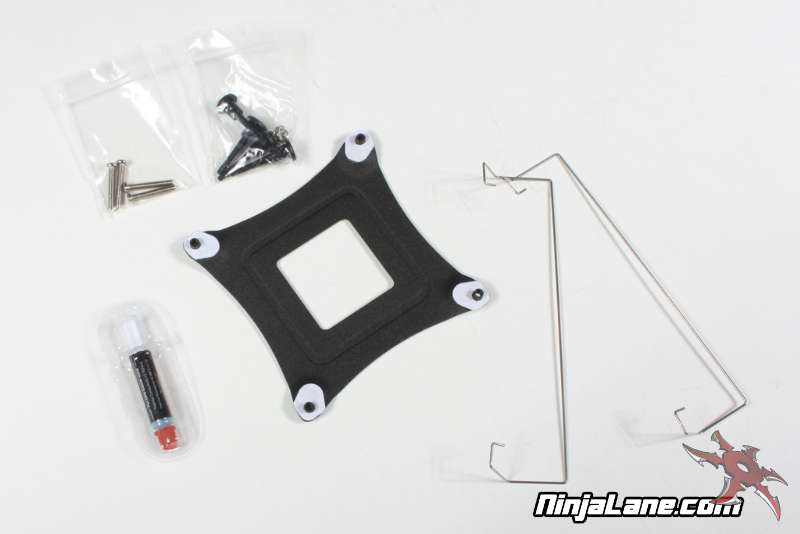
To begin the installation process you first must identify what clip you will need and determine if you will be using the included back plate.
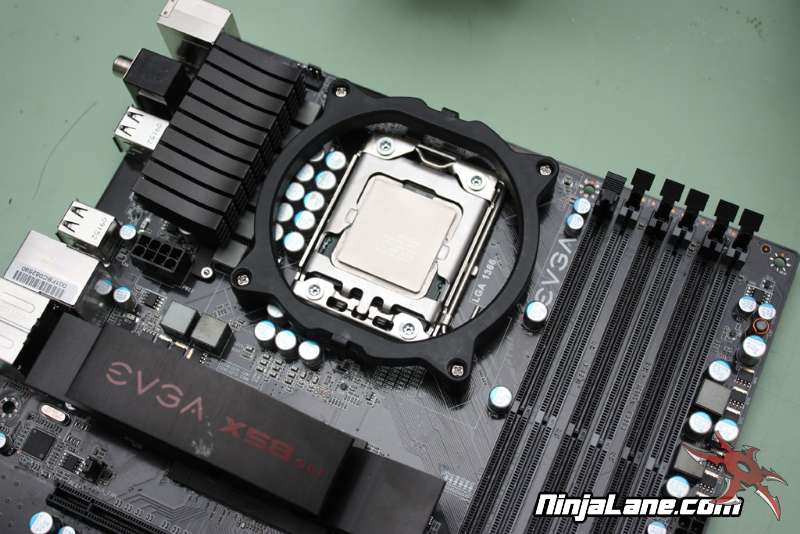
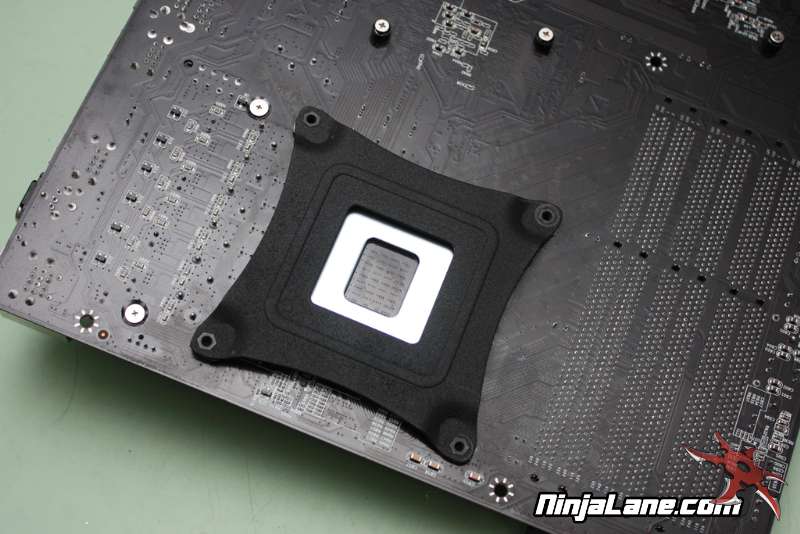
We are using a Core i7 system so the back plate will be required.
We are using a Core i7 system so the back plate will be required.
The next step is to apply your favorite thermal paste and attach the heatsink. 2 finger clips are used to secure the heatsink in place, much like the heatsinks of days gone by.
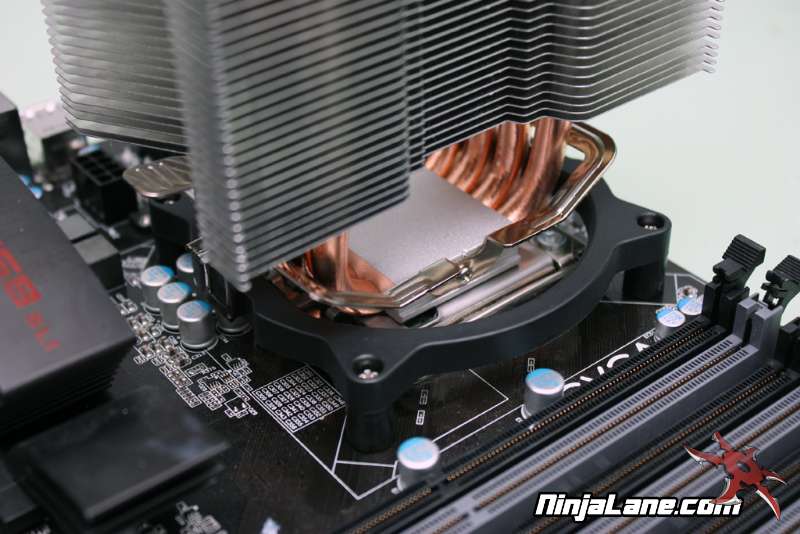
Finally attach the fan using the included wire clips and plug in the fan header. The TherMax II only supports a single fan so be sure to test fit your heatsink to ensure proper clearance. Much to our surprise we had no issues in using the first memory slot on our X58 board, even with the fan mounted nearby.