After careful consideration I have decided to transfer all hardware review activities to a new domain. I purchased Hardwareasylum.com in 2012 and have been working hard to build a new and improved Ninjalane on that domain. If you are reading this you have reached one of the archived articles, news, projects and/or reviews that were left behind during the site migration.
Please update your bookmarks and be sure to visit the new and improved Ninjalane at Hardwareasylum.com
Bytecc LanDisk Network Storage (ME-850) Enclosure Review
Author: Dennis Garcia
Published: Friday, October 07, 2005
Interior and Assembly
To assemble the LanDisk you will need a HDD, any drive will do provided it is at least ATA100 or higher, older HDDs won't work including ATA66. Now one strange thing you may have noticed is that the LanDisk only comes with a 40wire ATA cable but requires an ATA100 or better HDD. You would think an 80wire ATA cable would have been included but tt would seem that since the cable is only a few inches long there is no need for the extra 40 grounding wires.
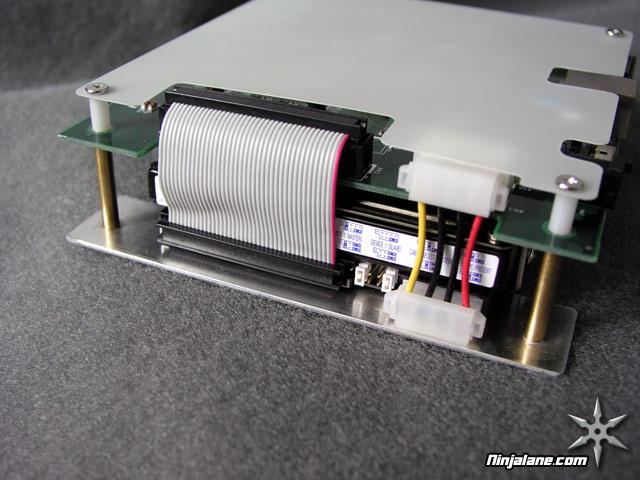
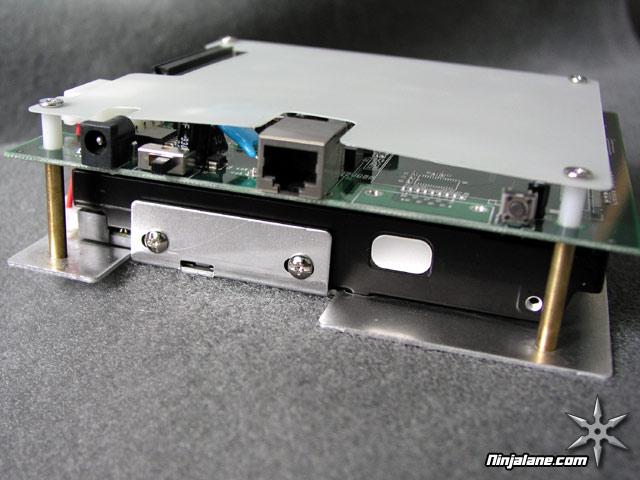
With the power and data connected the drive can be secured in place, nothing out of the ordinary here just 4 screws in the standard location.
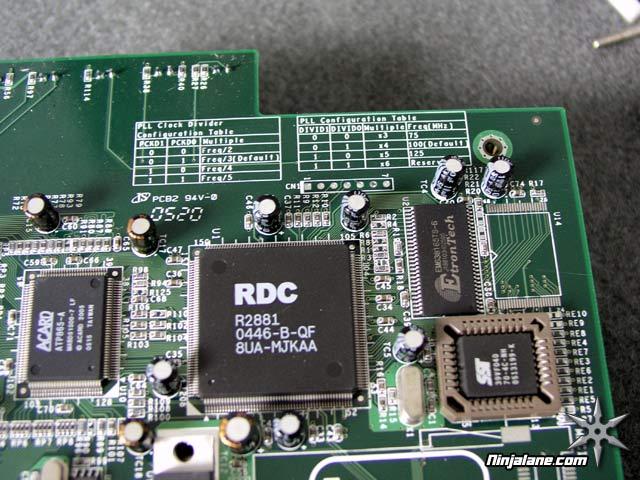
Being that Bytecc ME-850 LanDisk has an onboard computer we felt is necessarily to tear the system down and see what is under the hood. Onboard we have your basic network appliance processor from RDC http://www.rdc.com.tw/eng/ that appears to be a 16bit 100Mhz RISC chip and comes with 64Megs of onboard memory. You may notice that the clock frequencies are present on the PCB giving the indication that they can be adjusted if you so desire. Not sure how overclocking your NAS will help performance but what else are you gonna do during those occasional times of boredom.
Being that Bytecc ME-850 LanDisk has an onboard computer we felt is necessarily to tear the system down and see what is under the hood. Onboard we have your basic network appliance processor from RDC http://www.rdc.com.tw/eng/ that appears to be a 16bit 100Mhz RISC chip and comes with 64Megs of onboard memory. You may notice that the clock frequencies are present on the PCB giving the indication that they can be adjusted if you so desire. Not sure how overclocking your NAS will help performance but what else are you gonna do during those occasional times of boredom.
Once everything is back together the task of configuration is next. By default the system will respond to the following url http://landisk the default login and password can be found in the manual. The menus are fairly easy to navigate allowing for easy access to the configuration options. We've included a couple screenshots to get the juices flowing.

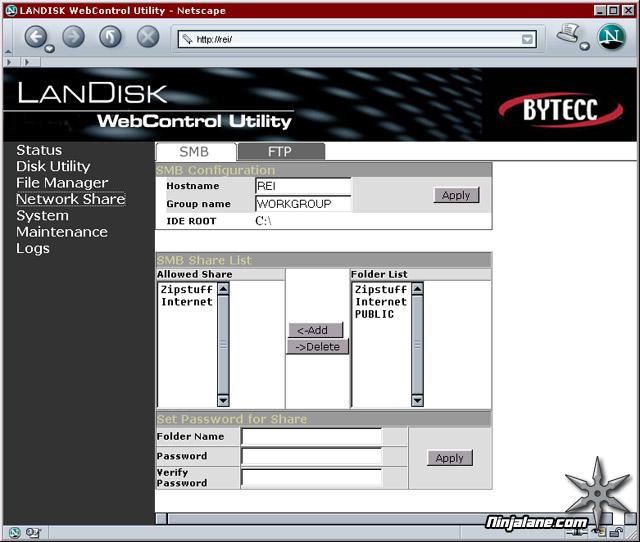
The web admin tool allows you to change the hostname and default workgroup, enable or disable the Samba and FTP server, configure network shares, assign passwords, and run disk diagnostics just to name a few. Actually the only thing we noticed was that you couldn't do was enter a workgroup name any longer than 9 characters.