After careful consideration I have decided to transfer all hardware review activities to a new domain. I purchased Hardwareasylum.com in 2012 and have been working hard to build a new and improved Ninjalane on that domain. If you are reading this you have reached one of the archived articles, news, projects and/or reviews that were left behind during the site migration.
Please update your bookmarks and be sure to visit the new and improved Ninjalane at Hardwareasylum.com
ShegoServer - The Green Watercooled Machine
Author: Dennis Garcia
Published: Wednesday, January 17, 2007
Day 2 - Fan Adaptor
To maximize airflow to the radiator the opening was cut to be a square. This was not the original plan but plans change when beer is involved (see Day 1). Personally I think having the opening as a square looks better however there won't be any change in performance as a result. One of the drawbacks to this decision is that a new mounting method had to be devised.
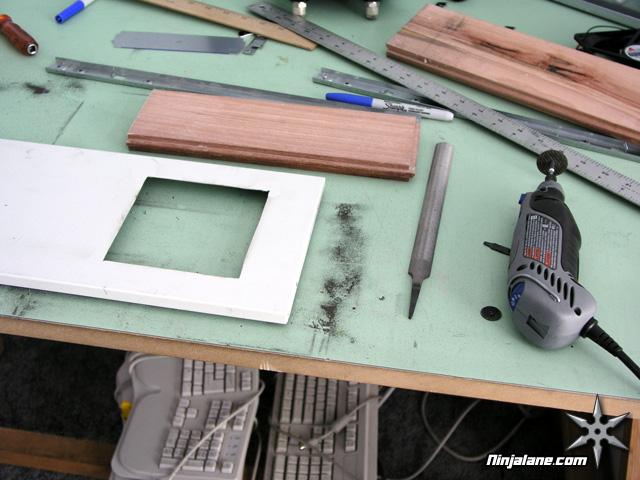
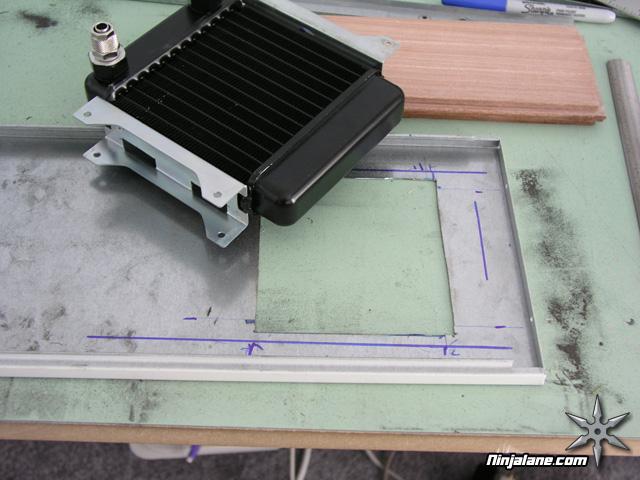
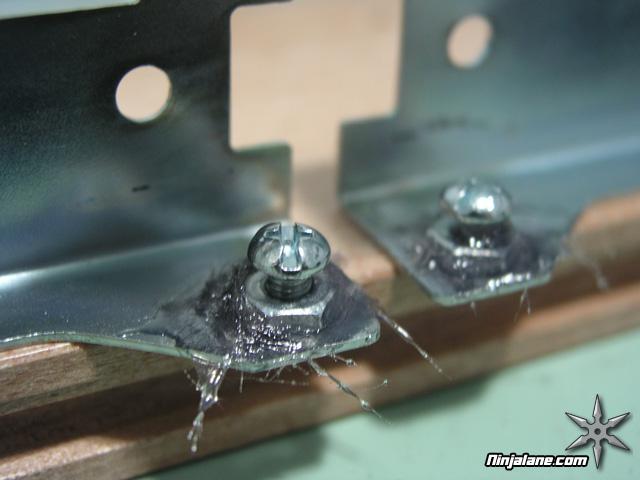
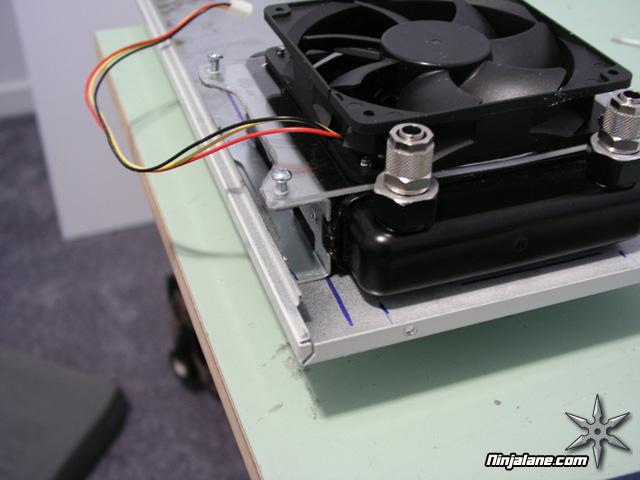
For this the mounting brackets where turned out away from the radiator. Try doing that with a black ice extreme. In their normal location the installation brackets allow the user to mount the radiator in an empty 120mm fan space however when the mounts are turned away you no longer have that luxury. Since I still wanted to be able to remove the fan without tearing the system down I decided to build an adaptor. The first step was to fiberglass some nuts to the mounting brackets. To ensure that no resin would get on to the threads a matching set of bolts were installed to protect the threads.
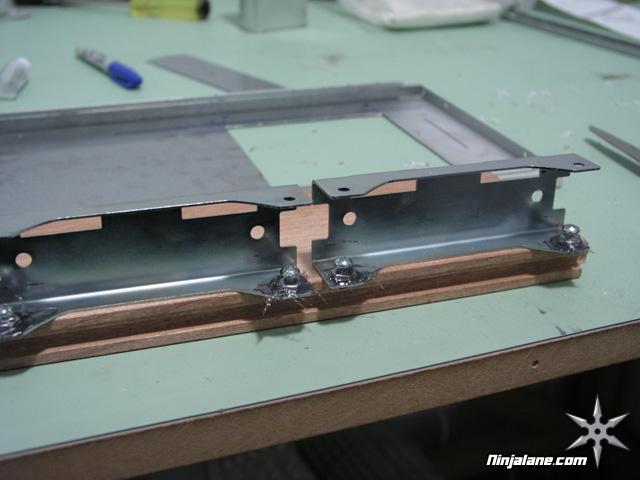

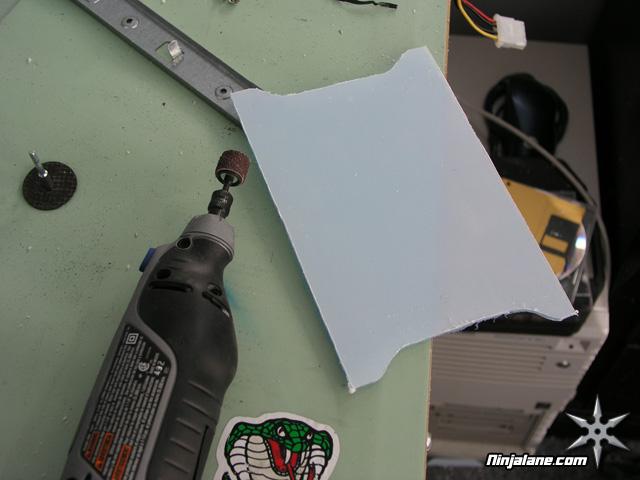
An extra piece of plexi was used to fashion the fan adaptor plate and after some dremel cuts and power sanding the adaptor was complete. Simply mount the fan to the adaptor using typical fan screws and then bolt the adaptor to the radiator brackets. If the fan ever needs replaced fan simply reverse the process.
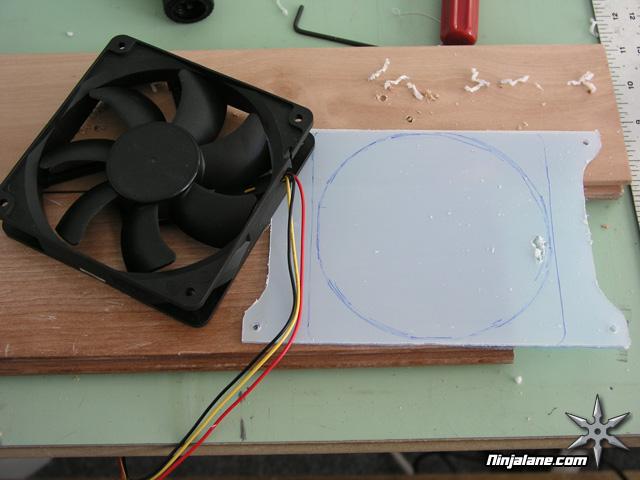

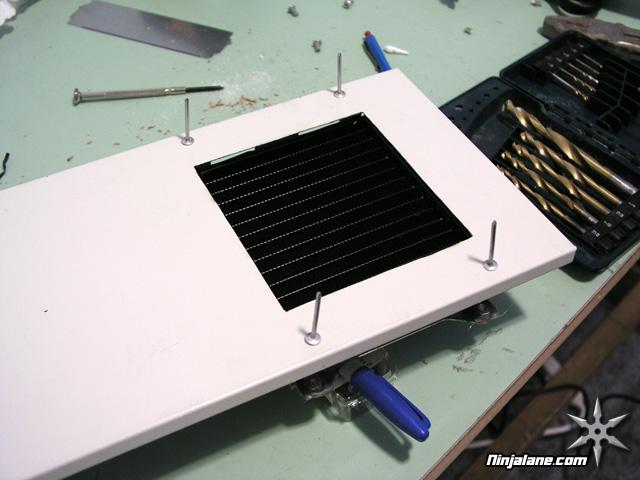
At this point everything was trial fit to ensure that there were no errors during fabrication.